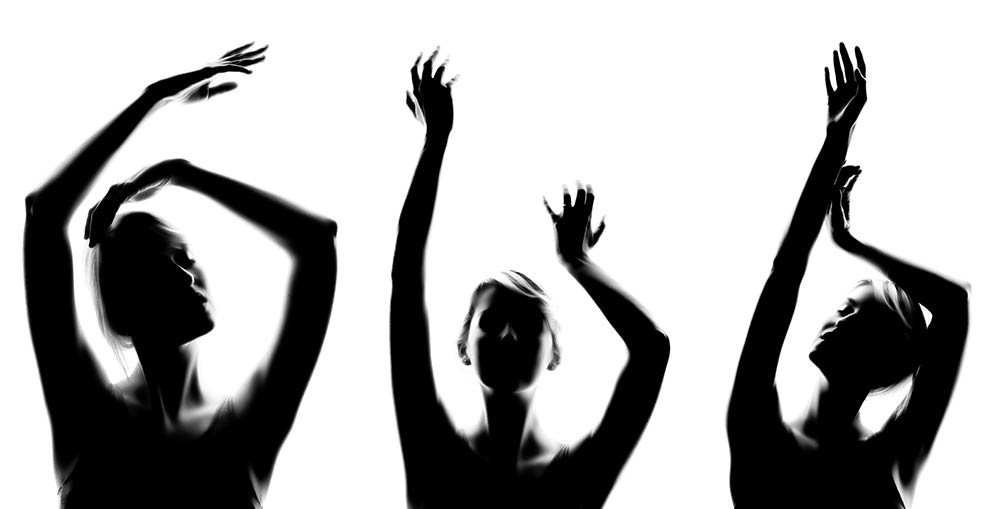
Learn how to shoot graphic silhouette portraits in a photographic studio or at home using this incredibly easy technique. Silhouettes generally focus purely on shape, whereas this approach aims to capture a small amount of detail in the model’s face for a much more interesting result.
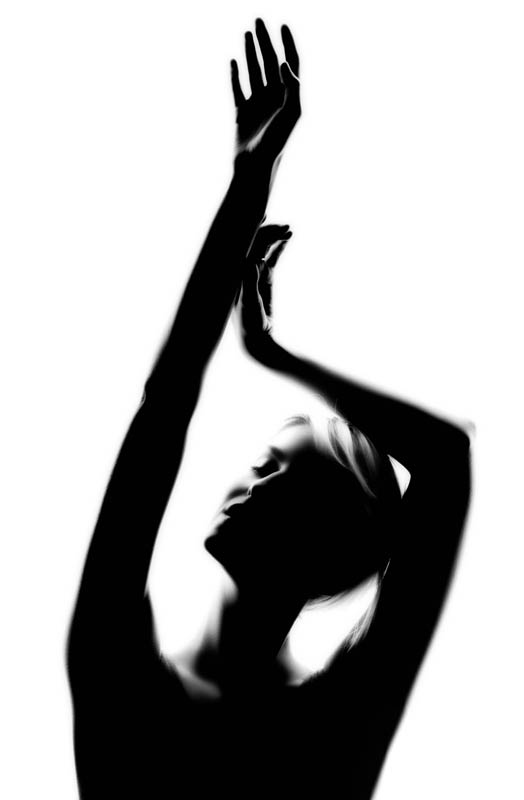
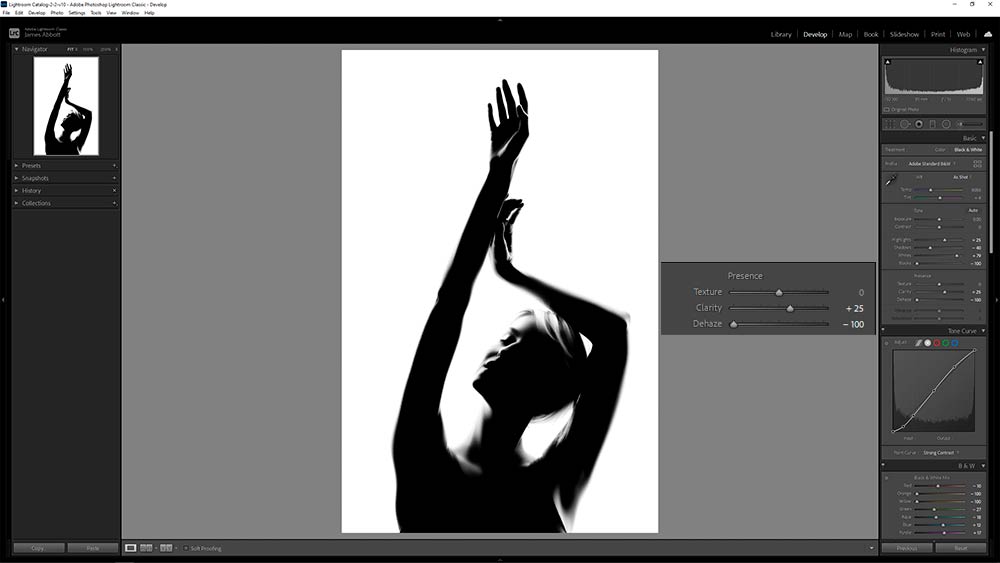
The image below is the final shot that was created using the shooting technique outlined below, as well as a simple editing trick that recovers some detail in the model’s face to create a more detailed and arguably interesting result.
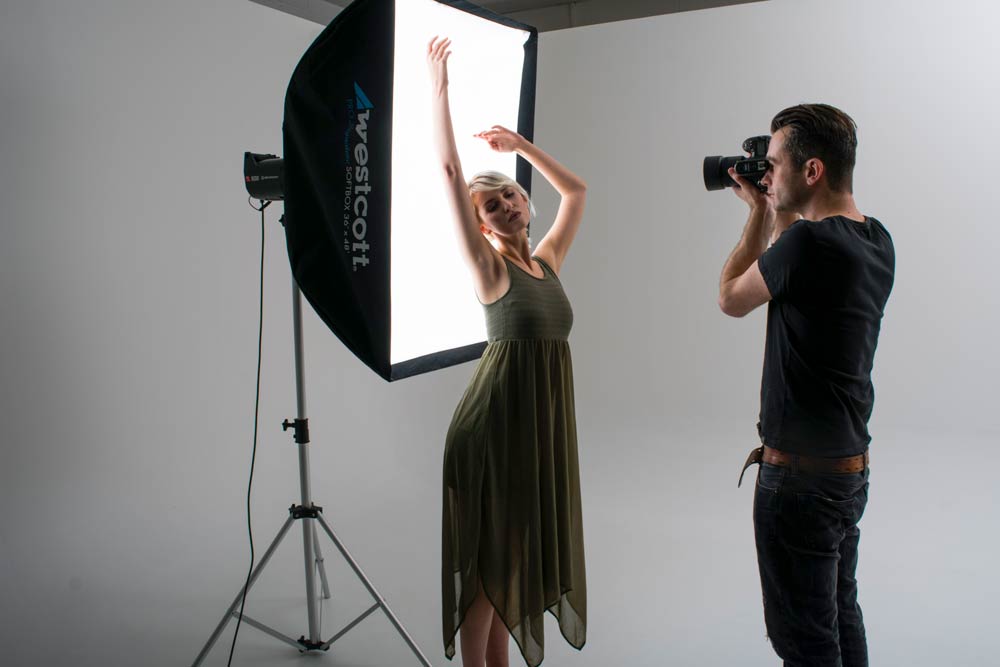
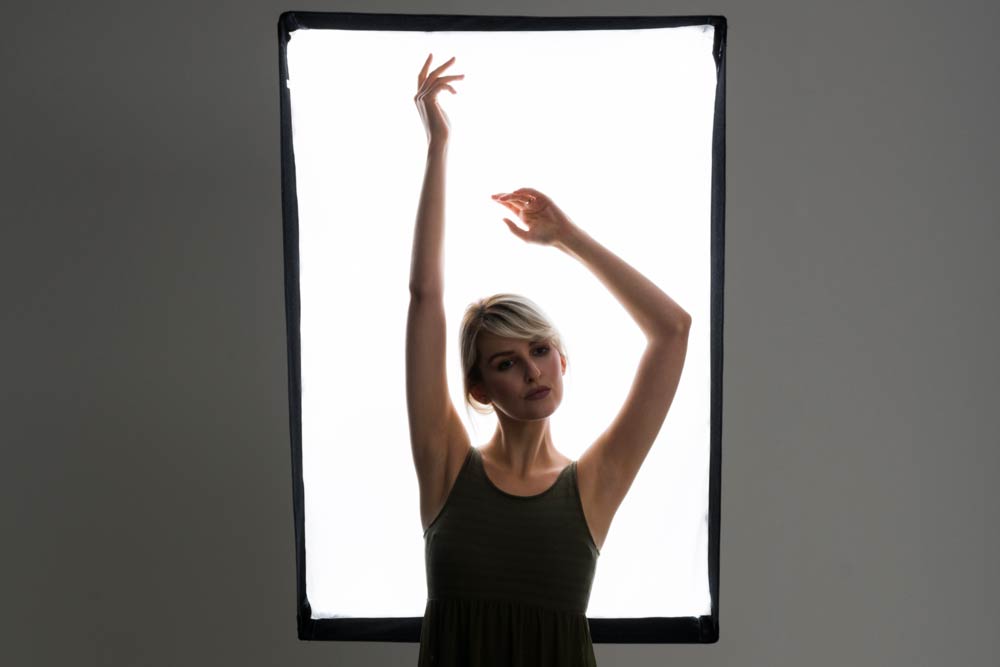
The overall technique is incredibly simple, and the only kit you’ll need is a large softbox for either a studio flash head or a flashgun because as well as being the light source of the image, the softbox is also the background.
How to shoot silhouette portraits
1. Flash settings
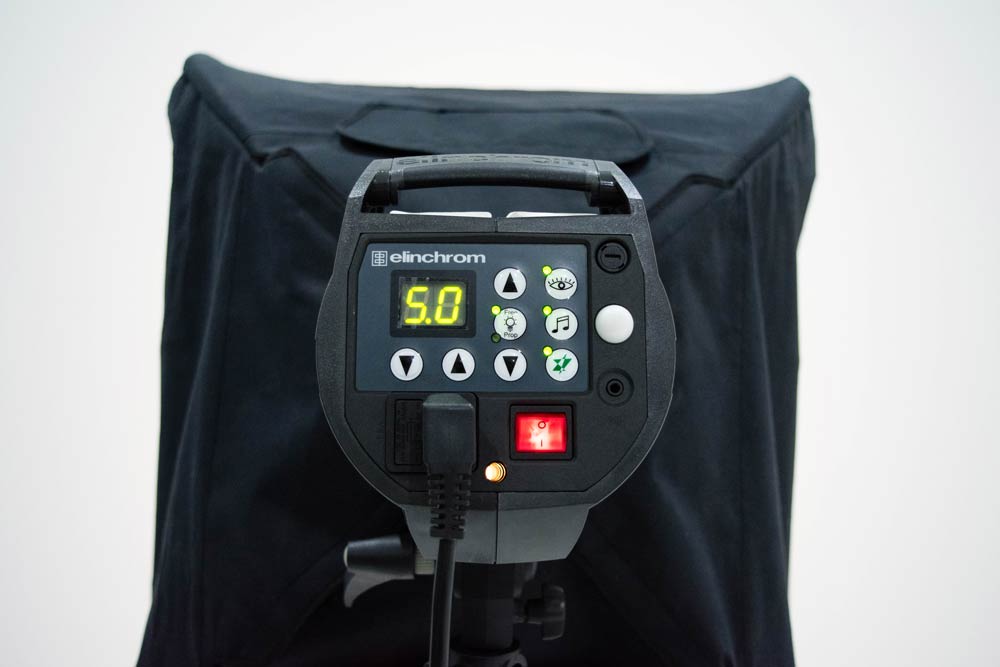
Set the flash to a high power setting and be prepared to balance the camera exposure in the next step against the power output for a correct exposure. The aim is simply to bleach out the white of the softbox while capturing the model in silhouette. Attach a large softbox to the flash and position it so it’s facing towards where you’ll be standing to shoot.
2. Camera settings
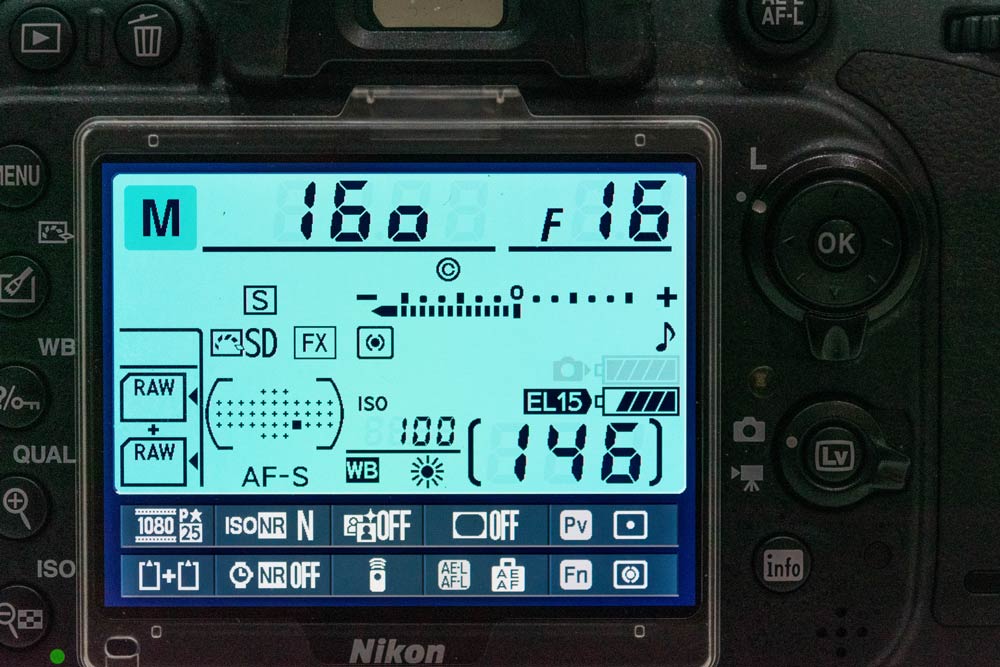
Set the camera to manual mode with shutter speed at 1/160 sec, aperture at f/16 and ISO 100. The exact aperture may vary depending on the flash power output set in the first step, but aim to shoot between f/8 and f/16. Take a few test shots to work out the best combination of flash power and aperture.
3. Try different poses
Shoot with a lens around 85mm so there’s no distortion from shooting too wide or with a long telephoto, which can make subjects look wider. Ask your model to create different shapes with their arms and hands, as well as turning their head so that the backlight lights their face in different ways for each shot.
How to edit for more detail
The overall aim for editing is to create a high-contrast black & white image. But the secret behind capturing more detail in the model’s face all comes down to a single slider in Lightroom or Adobe Camera Raw, and the effect also adds a dreamy look to the final image. Simple drag the Dehaze slider left to -100 and watch as more detail in the image is revealed.
The Digital Darkroom: The Definitive Guide to Photo Editing
 My new book, The Digital Darkroom: The Definitive Guide to Photo Editing is now available. Photo editing is a vital part of the image-making process. Just as darkroom techniques were important skills to learn in the days of film, a clear understanding of post-processing is now key to getting the most out of your digital pictures. Easy to follow and accessible for readers of all levels of knowledge, The Digital Darkroom is the definitive guide to post-processing for users of Adobe Photoshop and Affinity Photo.
To find out more and order your copy click here
Improve your Photography, Photoshop and Lightroom skills with a 1-2-1 training session
If you enjoyed this post you can support this blog on Ko-fi here
Check out my Photoshop tutorials on my blog, or visit my YouTube channel where you can subscribe to stay up to date with new videos www.youtube.com/jamesabbottphoto
To take a look at my portrait photography click here
To take a look at my landscape photography click here