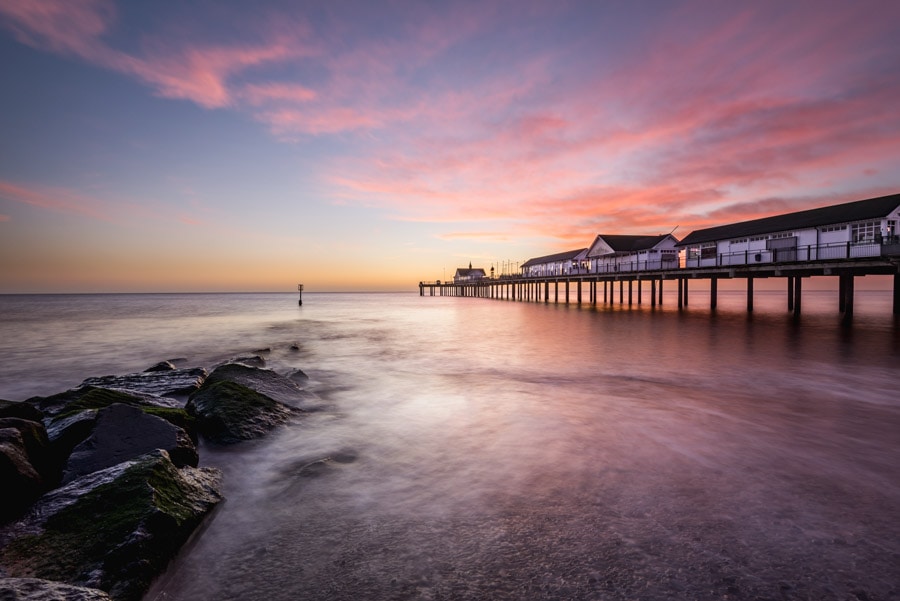
You’ve probably heard this before and chances are, you’ll hear it many times in the future; one of the best times of day to shoot landscapes is the period of time just after sunrise and just before sunset. These times are known as ‘golden hour’ and despite the name, this period of time isn’t actually an hour in duration. At this time of the day the sun is close to the horizon, which means the area of sky close to the horizon is brighter than the sky at the top of the frame.
Filters for golden hour
ND grad filters are used to reduce the amount of light entering the lens at the top of the frame and graduate to no effect halfway down the filter. In other situations, these are perfect for maintaining brighter sky detail against a darker foreground, but at golden hour when the sun isn’t obscured by cloud, you’ll need a reverse ND grad to effectively capture sky detail and avoid blown highlights.
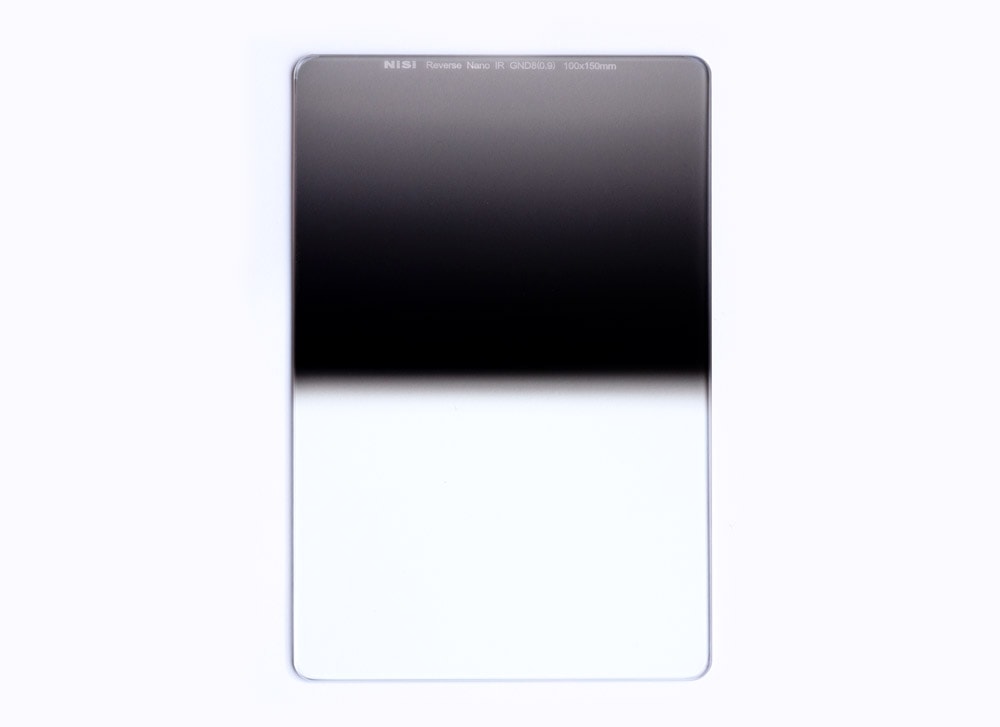
Reverse ND grads
When shooting with the sun close to the horizon the best filter to use is a reverse grad. These have a hard graduation in the centre of the filter that quickly graduates to the filter’s full strength and then a soft graduation to a reduced effect at the top of the filter.
This means light close to the horizon is blocked to reduce exposure, with the darker sky above less affected by the filter for a more balanced and natural looking result. Reverse grads often come in 2-, 3- and 4-stop light blocking densities.
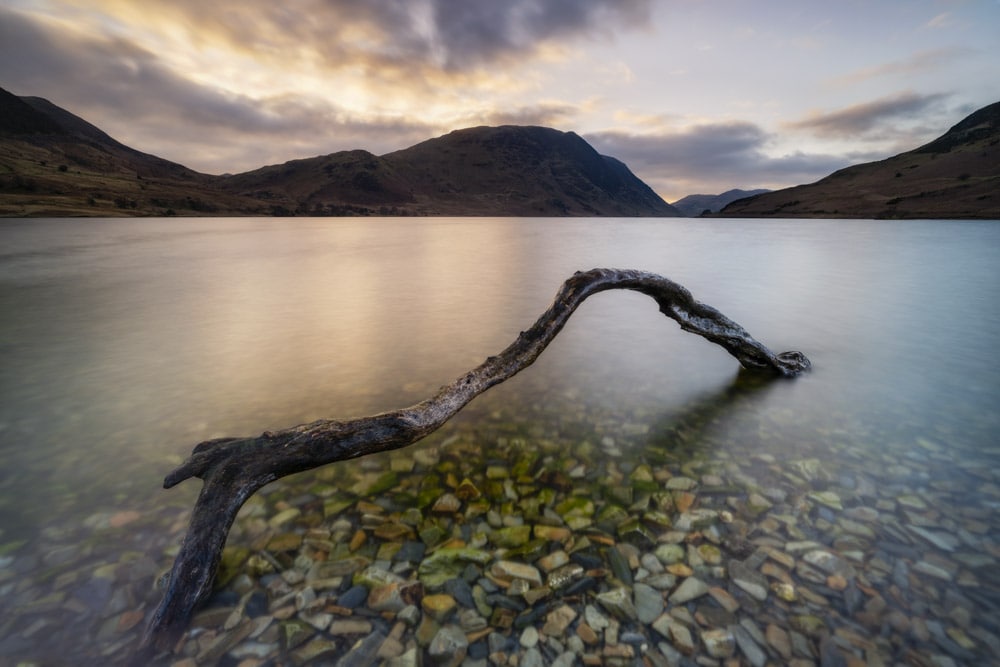
How to avoid reverse grad problems
Reverse grads are amazing filters that make it easier to effectively capture some sunrises and sunsets, but they’re not without limitations. The most significant issue with them is the hard graduation in the centre of the filter.
This means that when you’re shooting anything but straight horizon, such as at the coast, some of the land or protruding elements such as trees will be underexposed by several stops.
When underexposure occurs there are two main options to overcome the issue: The first is to shoot one exposure without the filter and another with the filter and then blend the two together in post-production.
The second is to use local adjustments in Raw processing software to brighten up elements in the scene that should be lighter. But a great fail safe is to shoot the two exposures when on location, and then make a decision about how to process your images once you’re back home.
To check out my landscape photography click here
Take a look at my YouTube channel for editing tutorials here